Tile Installation
Full-scope tile work for Sacramento homes. Surface preparation, layout planning, and precise setting across every room and material type.
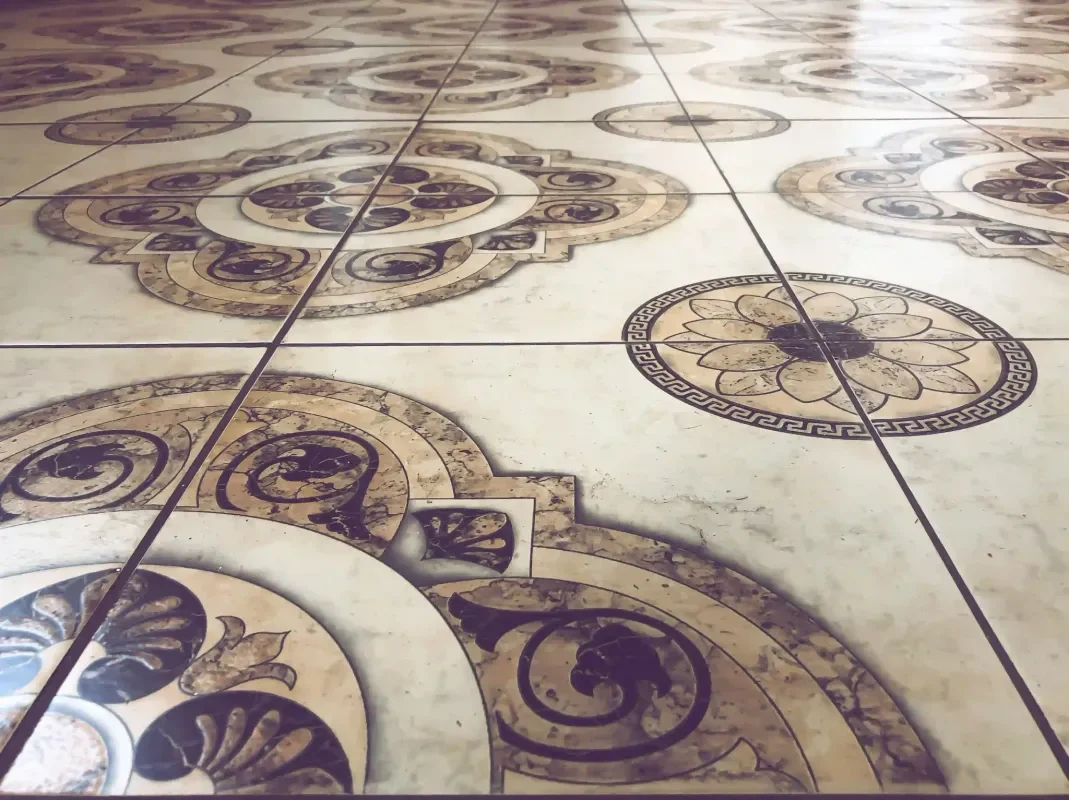
What tile installation involves
Tile installation covers any surface where tile is the finish material — floors, walls, ceilings, countertops, fireplaces, outdoor patios. Each surface type has its own substrate requirements, movement considerations, and adhesive specifications. The work does not begin with setting tile; it begins with understanding what is underneath.
For most residential projects, the critical decisions happen before any tile is touched. What is the substrate material — concrete slab, cement board, plywood subfloor, existing tile? Is it flat enough for the chosen tile size? Does the room have transitions to adjacent flooring that will affect layout direction? These questions determine the preparation work required and the installation method used.
How we approach the installation process
Surface assessment
We check flatness using a straightedge, look for soft spots, cracks, or movement in the substrate, and identify any moisture concerns. For floor tile, we measure deflection — wood subfloors that flex too much under load will crack tile grout over time regardless of how well the tile is set.
Substrate preparation
High spots are ground down, low areas are filled with floor leveling compound, and appropriate backerboard is installed where needed. In wet areas, a waterproofing membrane is applied and allowed to cure before any tile work begins.
Layout and dry-lay
We establish layout lines from the room's visual center and dry-lay a section of tile to confirm the pattern reads well. Cut placement at walls and transitions is planned before adhesive is spread. The goal is balanced cuts on both sides of the room — no slivers at the entry or a full tile on one wall with a 1-inch cut on the opposite.
Setting, grouting, and finishing
Thinset mortar is selected to match the tile type and substrate — large-format tiles and natural stone require a medium-bed mortar with back-buttering to achieve full coverage. After thinset cure, grout is applied, cleaned, and allowed to cure before the area is returned to use. Perimeter and transition joints are filled with color-matched silicone caulk rather than grout to allow for movement.
A note on thinset coverage
Industry standards require 95% mortar coverage on the back of tile in wet areas, and 80% in dry areas. Achieving this consistently requires back-buttering large tiles and using a notched trowel sized appropriately for the tile — a 3/8-inch V-notch trowel used for 4x4 ceramic is not appropriate for a 24x24 porcelain panel. Coverage is checked by pulling a tile immediately after setting to confirm the mortar has transferred properly to the back.